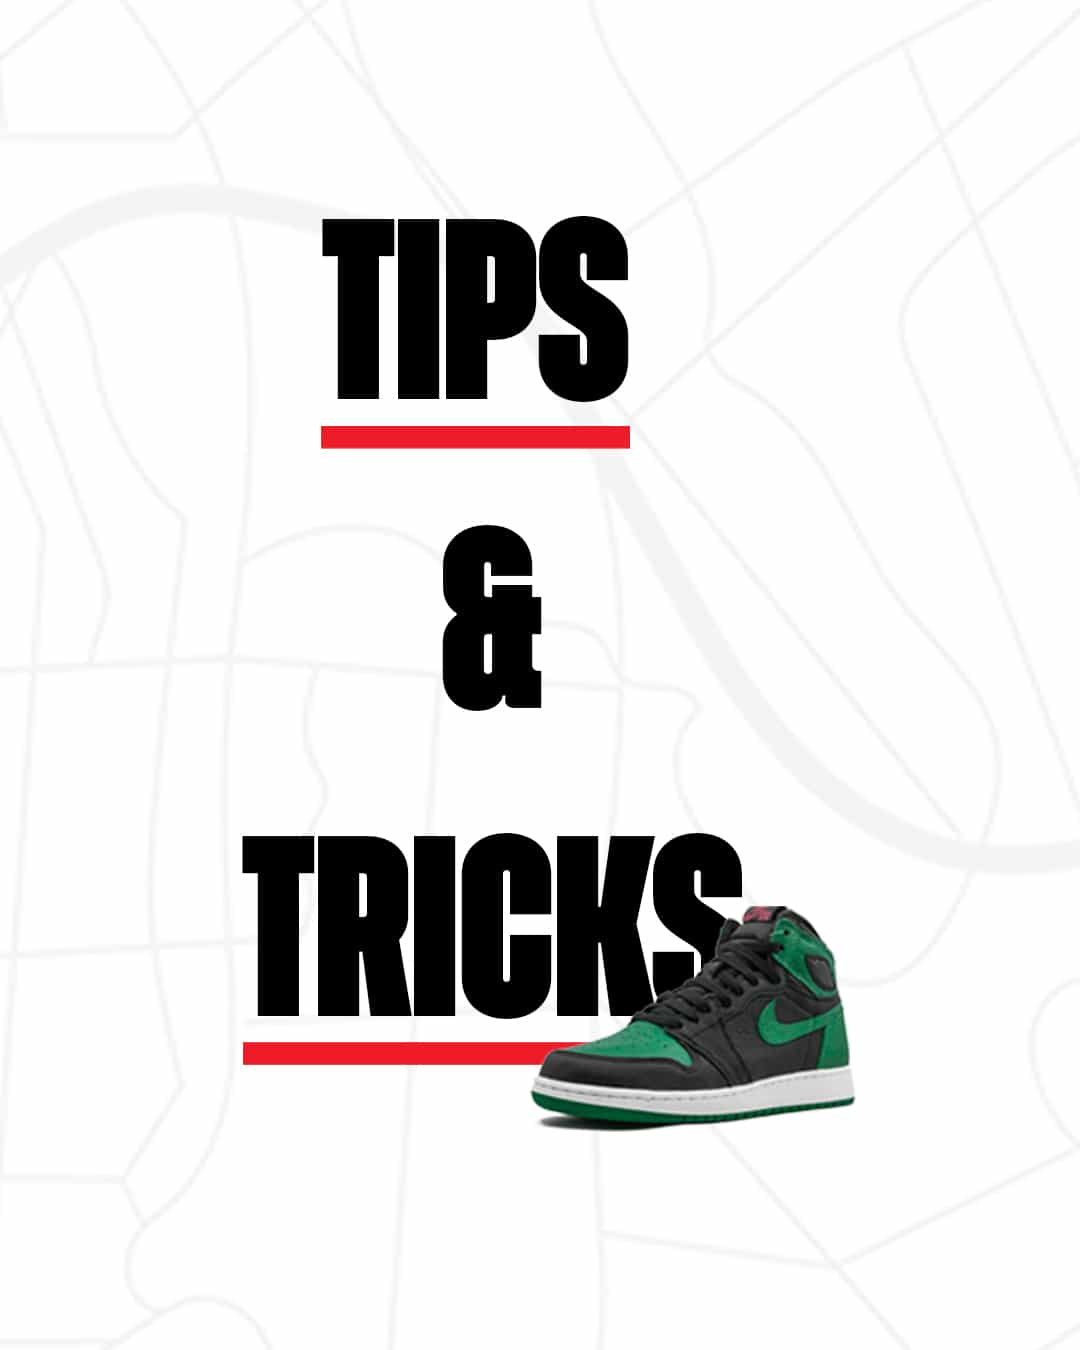
By Chad Jones aka Sneaker Galactus
Cleaning Your kicks!
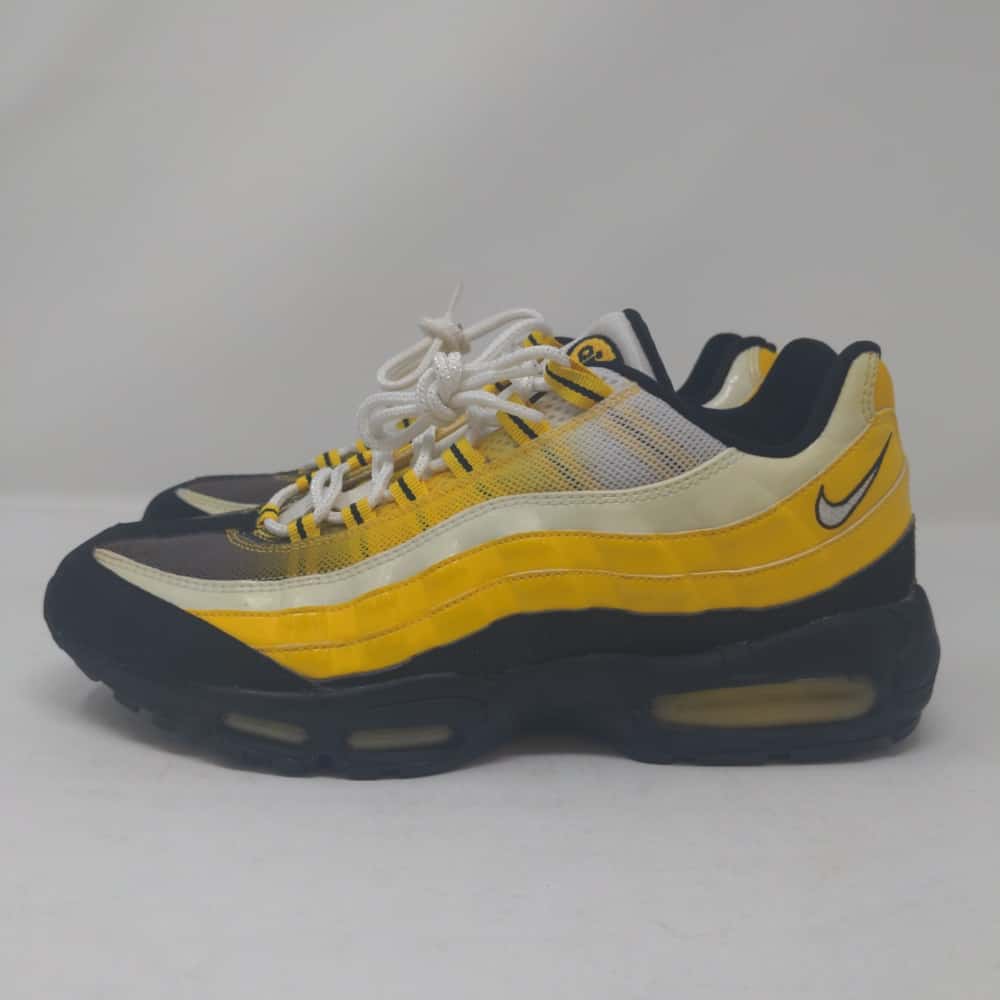
Everybody comes to a point where we feel it’s necessary to take a day to just sit down and clean that ever-growing pile of kicks. We dread it, but it’s part of the game if you want to give your kicks longevity or if you’re ever thinking about selling them (sidenote: we have a marketplace to do just that).
I’ve cleaned plenty of kicks until they look fresh out of the box and people can’t believe they are a decade old. A lot of times I’ll sell a pre-owned shoe and customers rave that it looks brand new. That’s how serious I take cleaning.
Here’s some tips I’ve learned over the years to keep your joints fresh.

1. Insoles
TAKE EM OUT and LET THEM SHITS AIR DRY! Nobody likes stinky odored shoes or feet. Make sure to use Lysol and spray down the insoles and inside of your sneakers. This also protect you from foot fungus and athlete’s foot
2. Laces
Assess them. How dirty are they or are they dirty at all? Don’t just wash them to wash them. Do they need to be removed from the shoe to get the desired clean? This is actually really easy to do and the method is up to you. That could mean the washing machine or hand clean and hang dry. Just don’t damage those aglets or you might have a really hard time lacing ya joints back up! (Aglet – lace tips)
3.Upper
I tend to use cold water because it keeps fibers closed, trapping dye inside. Warm water opens fibers and sets dye free. Be gentle though. Use a very soft brush with dishwashing detergent or some other light soap as necessary until all areas are clean. Repeat. Pat dry with a microfiber towel. Your soap doesn’t have to be a fancy, expensive cleaner either. I’m a fan of Palmolive.

4. Midsole
What materials are the upper of your pair of sneakers made up of? Different materials need different cleaning solutions.
This is the MOST important part of the cleaning process. In my many years of cleaning sneaker midsoles, this is the area that has caused me the most problems. These areas are painted many times, so there is only but so much abrasion those paints will be able to resist before they start to break down. Be very careful or you may mess up the paint job. I use the abrasive side of a multi-purpose sponge to do my bidding, like one of these Scotch Brite sponges, but there are lots of household items that can be used. A toothbrush for example can be another way to accomplish this task.
5. Outsole
You will likely need the most abrasive tools to get all packed in dirt, grime and whatever nasty stuff gets left behind. Good old fashioned elbow grease should be applied here. results will depend on how much time and effort you apply.
I hope this helps you keep your kicks as fresh as possible for as long as possible! Hit me up on twitter @s_galactus or @sneaker_galactus on Instagram if you have any other questions about cleaning.